Contouring can seem like a daunting task, particularly for those new to the world of makeup. However, when executed correctly, it’s a game changer that can enhance your natural beauty and bring out your best features. Yet, many people make common mistakes that can hinder their contouring efforts, leaving them feeling frustrated and dissatisfied with their looks. Fortunately, understanding these pitfalls and knowing how to sidestep them is the first step towards achieving a flawless visage. In this article, we will explore the most common contouring mistakes, as well as effective strategies to avoid them. By arming yourself with knowledge and techniques, you can elevate your makeup application skills and achieve that sought-after, sculpted look.
Understanding Contouring Basics
At its core, contouring is all about creating shadows and highlights that define the structure of your face. The main objective is to enhance your natural features while giving the illusion of depth and dimension. While many people are familiar with the basic concept of contouring, few understand the subtleties that truly make a difference. For instance, the right choice of products and application techniques can have a profound impact on the final result. Learning how to balance these aspects can take your makeup application from basic to breathtaking. It’s not just about dark and light shades; it’s about creating a harmonious interplay between them.
Overusing Product
One of the most frequent errors novice makeup enthusiasts make is applying too much product. This leads to an over-the-top look that can be challenging to manage. Instead of a gentle contour that delicately enhances features, heavy application often results in a striking appearance that fails to blend seamlessly with the skin. To combat this issue, consider starting with light layers. Applying small amounts of product at a time allows for better control and a more natural finish. Additionally, always remember that less is often more in makeup application, especially when it comes to contouring.
Choosing the Wrong Shades
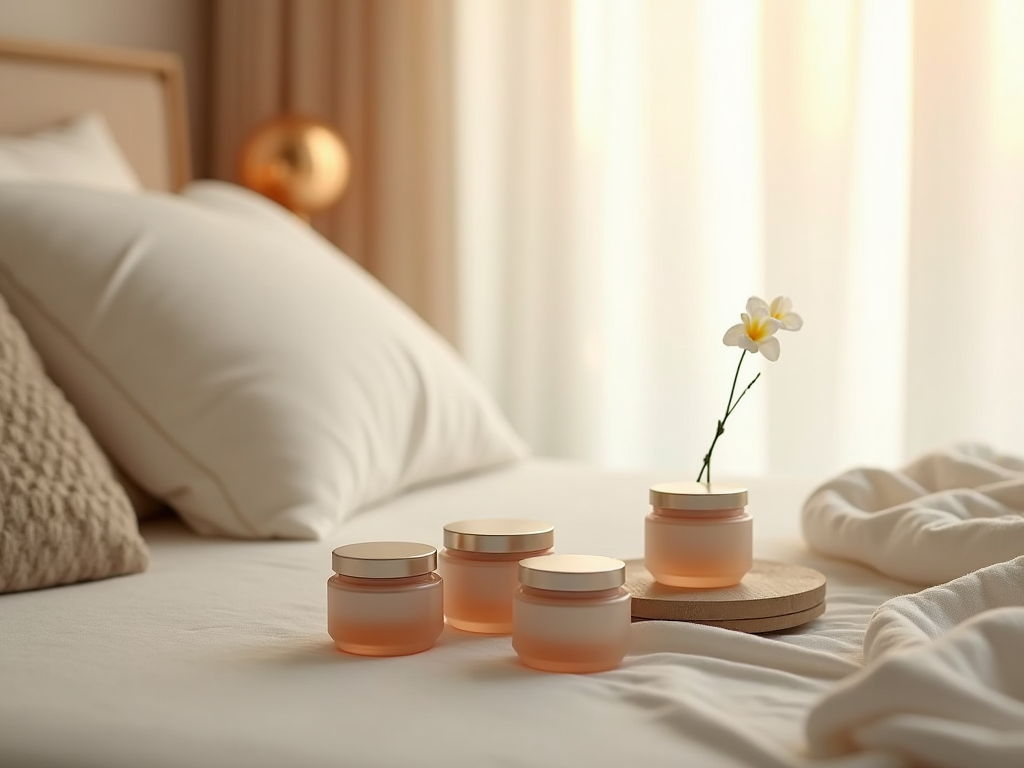
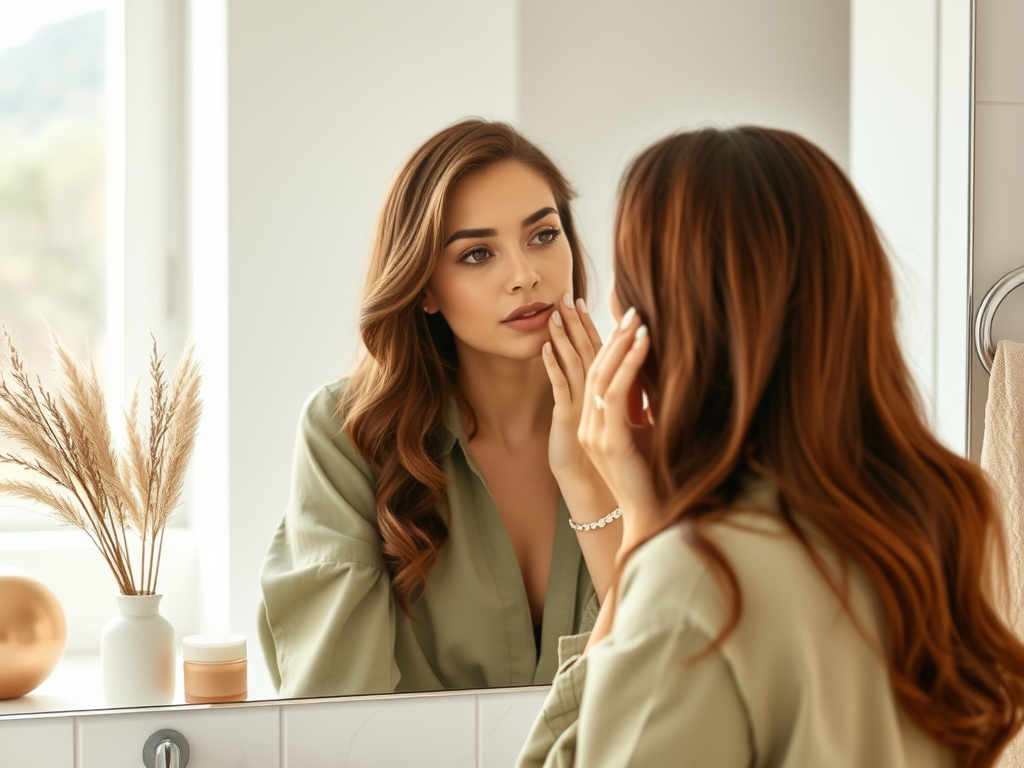
Color selection is crucial for achieving an authentic look. Using shades that do not complement your skin tone can result in a jarring appearance. Many individuals mistakenly select far too dark or poorly matched hues, creating an unflattering contrast. To find the ideal contour shades, it becomes imperative to consider your undertones — whether warm, cool, or neutral. This aspect plays a significant role in ensuring your contour blends in naturally, rather than standing out as a stark line. It’s always a good idea to conduct a patch test on your jawline or wrist to gauge how a particular shade looks in various lighting.
| Skin Tone | Recommended Contour Shade | Highlight Shade |
|---|---|---|
| Fair | Cool taupe or soft beige | Light ivory or creamy beige |
| Medium | Warm caramel or deep taupe | Peachy or warm champagne |
| Deep | Dark chocolate or espresso | Golden bronze or warm beige |
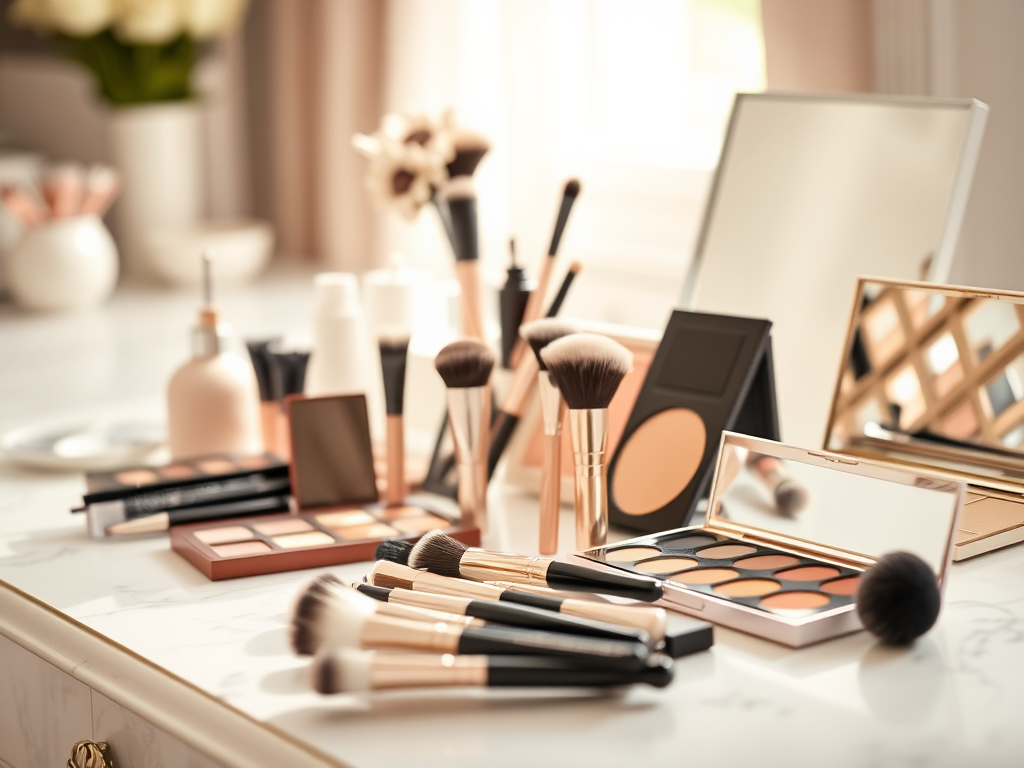
Neglecting Proper Tools
The tools you use for contouring can dramatically affect the outcome of your application. Many makeup enthusiasts overlook the importance of investing in quality brushes and tools. Using the wrong brushes can make blending difficult and may result in unintentional streaks or harsh lines. A good contour brush, paired with a damp sponge for blending, can create a seamless transition between your highlights and shadows. Properly selected tools not only enhance your application technique but can also save you time by providing an effortlessly blended finish.
Skipping Blending Techniques
Once you’ve applied your contour, blending should be your next focus. Failing to blend properly can result in harsh lines that fail to look natural. This crucial step is what transforms a basic contour into a professional-looking application. To achieve a smooth finish, try these blending techniques:
- Use a damp beauty sponge to help with an even application.
- Incorporate circular motions as you blend to soften the edges.
- Build up your product in thin layers, adding more as necessary.
By employing these techniques, you’ll find that your contour appears more natural and less like a mask.
Ignoring Face Shape
Every face is unique, and contouring should be tailored to your specific facial structure. Forgetting to consider your face shape can lead to an unbalanced look that fails to highlight your best features. For example, individuals with round faces may want to focus more on contouring the sides of the face to create the illusion of length. On the other hand, those with square faces might opt for softer contouring to round out the angles. Researching different techniques based on face shapes can produce tailored results that emphasize your unique beauty.
Not Setting Your Contour
After applying your contour and highlights, one final step should not be neglected: setting your look. Not setting your makeup can lead to fading or a “melting” appearance, especially in warmer weather. Using a translucent or matching setting powder will help to lock your contour in place, ensuring it lasts throughout the day. A light dusting will often suffice, as over-application can reverse the very effect you’re trying to create.
Conclusion
Avoiding common contouring mistakes can greatly elevate your makeup game and enhance your overall appearance. By understanding the basics and following effective techniques — such as selecting the right colors, investing in quality tools, and mastering the art of blending—you can achieve a naturally sculpted look. Remember, contouring should be about enhancement and artful definition rather than masking your beauty. Embrace these tips to transform your makeup application skills and enjoy the artistry of contouring!
Frequently Asked Questions
- What is contouring? Contouring is a makeup technique that uses darker and lighter shades to define and enhance facial features.
- How do I choose the right contour shade? Look for shades that are two to three shades darker than your natural skin tone and test them on your jawline to find the best match.
- What tools are essential for contouring? A good-quality contour brush, a damp beauty sponge, and setting powder are critical tools for achieving a well-blended contour.
- Can you contour without makeup? Yes, some people use bronzers or tinted moisturizers for a more natural, less traditional contour effect.
- How do I fix over-contouring? Use a damp sponge or foundation brush to blend out harsh lines and apply a light layer of foundation over the area for smoothing.